Spotting mounds in your garden often indicates an invasion of moles. While removing these pests can seem challenging, it’s certainly manageable. If traditional methods like smoke bombs, repellent plants, white vinegar, and ultrasonic devices aren’t working, you might consider using a trap. But which type is best? Are all traps effective? And can you make a homemade mole trap yourself? Here’s a comprehensive guide!
How to Get Rid of Moles?
Before setting a trap, understanding mole behavior is crucial. Moles are subterranean animals that spend their lives digging tunnels in search of food. Though blind, they have a keen sense of touch and hearing. These creatures thrive in moist soils rich in earthworms, which are their primary diet. Moles can create 12 to 15 meters of tunnels per hour, causing significant disruption to your garden.
Choosing the Right Type of Trap
Several types of mole traps are available:
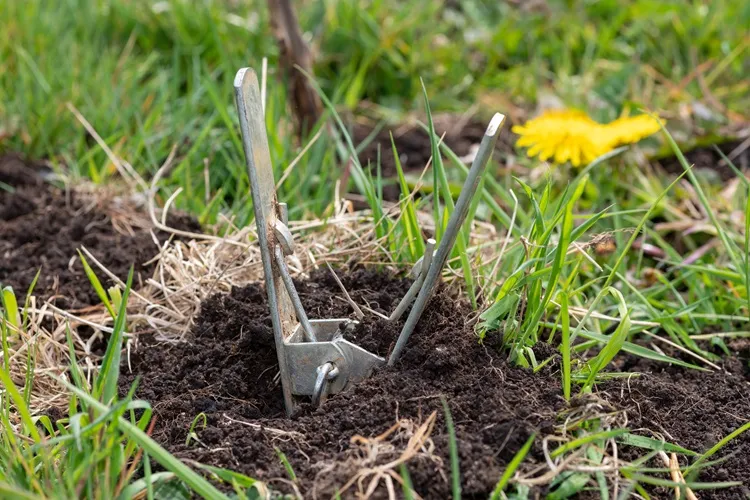
- Clamp Traps: Effective and easy to set, these are placed directly in the moles’ tunnels.
- Scissor Traps: Similar to clamp traps but larger and more powerful, they are designed to catch moles efficiently.
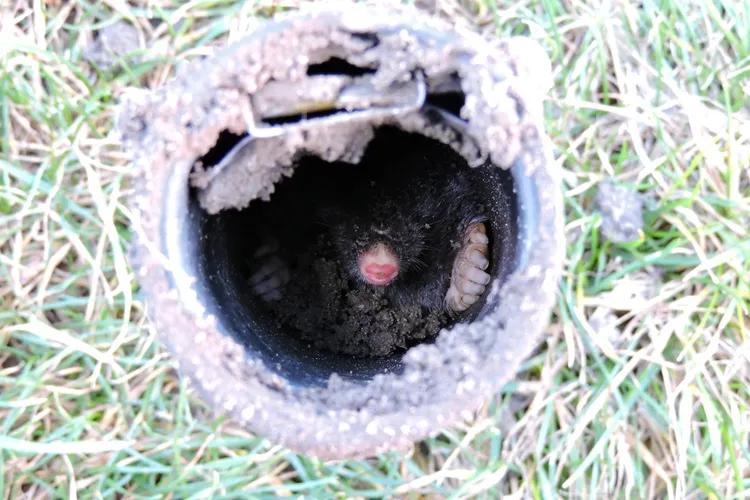
- Tube Traps: Cylindrical traps that capture moles alive for relocation.
Among these, the Putange trap is a popular choice among professionals. This manual trap uses copper wires and is known for its effectiveness.
How to Make a Homemade Mole Trap
Creating a DIY mole trap is straightforward and can be done with a few materials:
Materials Needed:
- A piece of PVC pipe (approximately 30 cm long and 10 cm in diameter)
- Two PVC end caps
- A strong spring
- A triggering mechanism (can be made with sturdy wire)
Instructions:
- Cut the PVC Pipe: Trim the pipe to about 30 cm in length. Drill small holes along the pipe to allow airflow and reduce stress on the captured mole.
- Attach the End Caps: Secure one end cap firmly to one end of the pipe. The other end cap should be able to open easily.
- Install the Trigger Mechanism: Attach the spring inside the pipe near the fixed end cap. Connect the wire to the spring so that it keeps the end cap open when the trap is set.
- Assemble the Trap: When a mole enters the pipe and pushes against the wire, it will trigger the spring, closing the end cap behind it.
Setting the Trap:
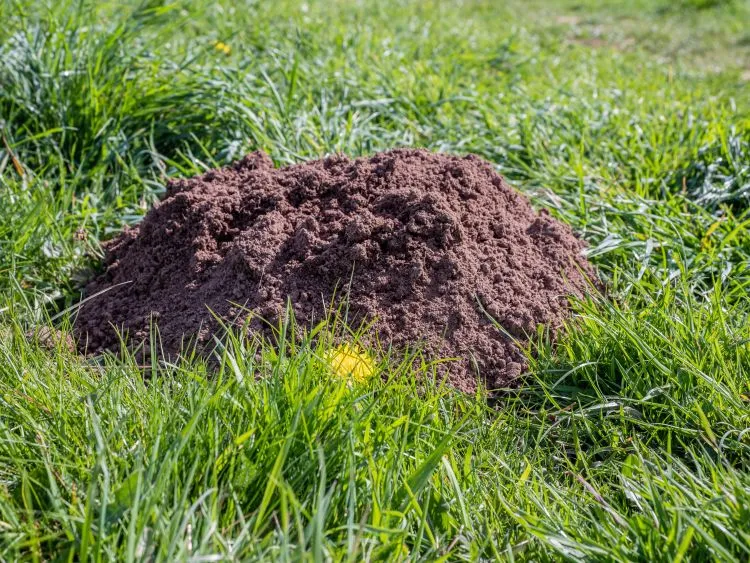
- Locate Active Tunnels: Identify the most active mole tunnels by flattening several mounds and observing which ones are rebuilt. Fresh molehills with steep sides and different colors are indicators of active tunnels.
- Expose the Tunnel: Dig a small trench to uncover the tunnel. Position the trap in the trench with its openings aligned with the tunnel.
- Prepare and Cover the Trap: Set the trap by positioning the cap and trigger mechanism. Lightly cover the trap with soil to make it less noticeable, and consider placing a bucket or pot over it to prevent it from being disturbed by animals or wind. Use a rock to secure it in place.
Monitoring and Relocation:
- Check the Trap Regularly: Avoid walking on the lawn too much to prevent scaring away the moles. Once a mole is captured, release it several kilometers away from your garden in a suitable environment.
With this practical guide, you can effectively manage moles in your garden using a homemade trap. This approach is both economical and environmentally friendly, offering a reliable solution to keep your outdoor space mole-free.