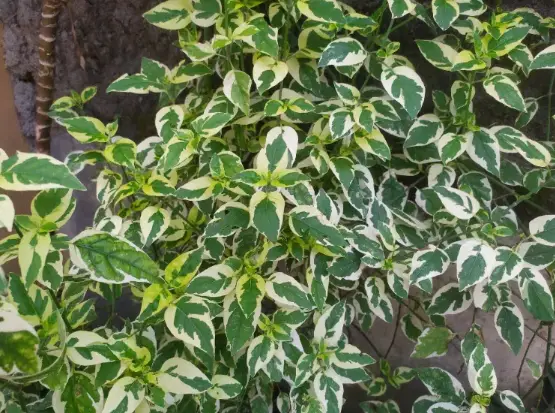
Oleanders are beloved shrubs known for their evergreen foliage and vibrant blooms throughout much of the year. But did you know you can easily propagate them and expand your garden without extra costs? Whether you’re an experienced gardener or a beginner, here’s when and how to propagate oleanders using three simple techniques!
📅 When is the Best Time to Propagate Oleanders?
The ideal time to propagate oleanders depends on the method you choose. The best seasons for propagation are:
✔️ Spring (April–May) – Encourages strong root growth due to mild temperatures.
✔️ Early Summer (June–July) – Still a good time before the extreme heat sets in.
✔️ Late Summer (August) – Especially effective for water cuttings.
❌ Avoid mid-to-late summer if your region experiences extreme heat or drought, as these conditions can slow root development.
💦 Method 1: Propagating Oleanders in Water (Easiest Method!)

The simplest way to clone an oleander is by taking cuttings and rooting them in water. Here’s how:
✔️ Select a healthy, non-flowering side shoot (about 15 cm long).
✔️ Use a sharp, disinfected knife to make a clean cut.
✔️ Remove leaves from the lower part of the stem.
✔️ Make a vertical cut at the base to enhance root formation.
✔️ Place the cutting in a glass of water (change the water regularly to prevent rot).
✔️ Optional: Add a piece of charcoal to keep the water clean.
✔️ Wait a few weeks until roots develop, then transplant into a pot with a mix of potting soil and sand.
🌱 Tip: Keep the container in a warm, bright place but avoid direct sunlight to prevent stress on young cuttings.
🌿 Method 2: Propagating Oleanders by Division (For Mature Plants)
This technique works best with older, well-established oleanders, as it produces fewer but larger plants.

Steps for Clump Division:
✔️ For potted oleanders: Remove the plant from its container and divide the root ball using a disinfected knife. Ensure each new section has a balanced number of shoots and roots.
✔️ For garden-grown oleanders:
1️⃣ Carefully dig up the mother plant.
2️⃣ Use a sharp tool to divide the root ball into several sections.
3️⃣ Ensure each section has both roots and shoots.
4️⃣ Replant in a sunny spot, water well, and enrich the soil with organic compost or slow-release fertilizer.
🌱 Tip: After division, oleanders bounce back quickly, producing strong new growth within weeks!
🌱 Method 3: Propagating Oleanders by Layering (Most Advanced Technique)
Layering is a bit more complex but is useful if you want to propagate an oleander without cutting a stem first.

Steps for Layering:
✔️ Select a long, healthy branch that touches or can be bent toward the ground.
✔️ Make a small incision on the underside of the branch.
✔️ Cover the incised area with potting soil and secure it with a piece of wire.
✔️ Keep the soil moist to encourage root development.
✔️ After a few months, roots will form at the incision site.
✔️ Once well-rooted, cut the branch from the parent plant and replant it.
🌱 Tip: This method takes longer but results in a strong, independent plant with an already developed root system!
🌼 Final Thoughts
No matter your skill level, propagating oleanders is an easy and rewarding way to expand your garden. Whether you choose water cuttings, division, or layering, each method offers a chance to grow healthy, thriving shrubs at no extra cost!
💚 Which method are you excited to try? Let your garden flourish with these simple techniques! 🌸🌿