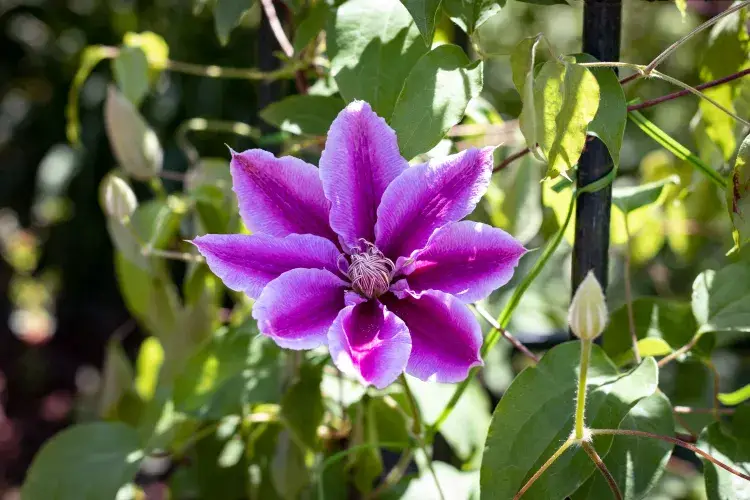

Clematis is celebrated for its stunning climbing ability, but it can be quite finicky and requires some attention. To ensure it thrives and beautifully adorns your pergola or outdoor staircase, it’s crucial to start with a strong foundation. Clematis can also flourish in a pot, climbing against a wall. Curious about how and when to take a clematis cutting? Here’s your comprehensive guide!
Clematis Cutting in 5 Steps
When and How to Take a Clematis Cutting? 5 Steps

Step 1: Preparing the Pot
Since you won’t be planting the cutting directly in the ground, start by preparing a pot. It’s easier to monitor the cutting’s development and recovery in a pot. Ideally, prepare several pots for multiple cuttings. Place small gravel in the bottom of a terracotta pot with at least one large drainage hole. Fill the pot with a special soil mix designed for cuttings.
Step 2: Taking the Cutting

Choose a clematis that has been established for at least two years, ensuring it is well-rooted and robust. Select a healthy, pest-free, softwood stem, preferably a lateral or secondary branch that has started to become woody. Cut a piece about 15 cm long, just below a pair of leaves. Ensure the stem has at least two buds to promote future growth.
Step 3: Preparing the Stem

Prepare your cutting by:
- Removing the leaves from the lower portion of the stem.
- Keeping only the leaves at the top.
- Dipping the base of the cutting in rooting hormone powder.
Alternatively, you can use willow twigs as a natural rooting hormone by soaking them in water overnight to create a nutrient-rich solution.
Step 4: Planting the Cutting
Make a hole 5-10 cm deep in the soil of your prepared pot. Insert the cutting into the hole, ensuring the leaves are at the top and the base is coated with rooting hormone. Press the soil gently around the cutting to secure it upright. Water the cutting and cover the pot with plastic wrap to maintain humidity. Place the pot in a warm, shaded area, avoiding direct sunlight which could scorch the leaves.
Step 5: Maintenance
Regular maintenance is crucial for the cutting’s success:
- Water consistently to keep both the soil and atmosphere moist.
- Protect the cutting until the following spring, ensuring it has developed roots.
- As the weather improves, move the cutting outside, preferably in a shaded spot. Continue regular watering and keep the plastic wrap in place.
By following these steps, you’ll set the stage for a thriving clematis plant that can beautifully enhance your garden space.