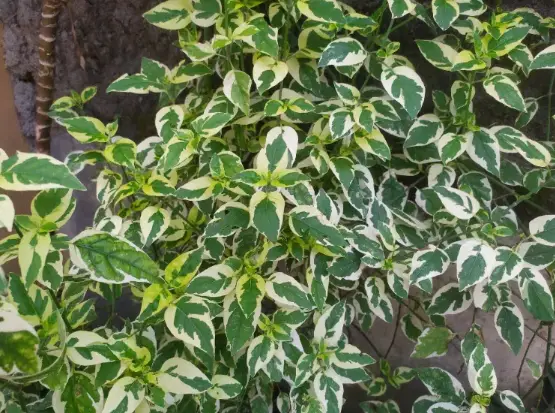
Clematis is one of the most beautiful climbing plants, adding elegance to pergolas, walls, and outdoor staircases. While stunning, it is also delicate and demanding, requiring proper care to thrive.
Want to grow more clematis plants for your garden? The best way is through cuttings! Follow this step-by-step guide to successfully propagate clematis and enjoy its blooms in multiple areas of your outdoor space.

📅 When to Take Clematis Cuttings
Clematis cuttings should be taken in late spring or early summer, typically in June or July. The best time is after the flowers fade, just before the plant starts producing fruit.

If done correctly, you can plant young clematis in:
✔ Other areas of your garden
✔ Pots on your terrace or balcony
✔ Containers near pergolas or trellises
Now, let’s get started!
🌱 Step 1: Preparing the Pot
Since your clematis cutting won’t go into the ground immediately, you’ll need a proper pot to help it develop strong roots.
🔹 Choose a small terracotta pot with at least one drainage hole at the bottom.
🔹 Add a layer of small gravel for drainage.
🔹 Fill the pot with special cutting soil (well-draining and nutrient-rich).
🔹 Prepare multiple pots to increase your success rate!
✂️ Step 2: Taking the Cutting

To ensure a healthy cutting, select a clematis plant that has been growing for at least two years. Here’s how to do it:
✔ Choose a healthy stem with no stains, pests, or diseases.
✔ Select a softwood lateral stem or a secondary branch that has already started to lignify (develop wood).
✔ Cut a 15 cm piece (about 6 inches) just below a pair of leaves.
✔ Make sure your cutting has at least two buds, as these will become new stems.
🌿 Step 3: Preparing the Cutting

Now that you have your clematis cutting, it’s time to prepare it for planting:
🔹 Remove the leaves at the base of the stem.
🔹 Keep only the leaves at the top.
🔹 Dip the base of the cutting in rooting hormone powder to encourage growth.
💡 Natural Tip: You can also use willow water as a natural rooting hormone! Simply soak willow twigs in water overnight, and use this solution to dip your clematis cutting.
🌼 Step 4: Planting the Cutting
Now it’s time to plant your prepared cutting into the pot.
✔ Make a hole 5-10 cm deep in the soil.
✔ Place the cutting into the hole, ensuring that the top leaves remain above soil level.
✔ Gently press the soil around the cutting to secure it.
✔ Water the cutting to keep the soil moist.
✔ Create a humid environment by covering the pot with plastic wrap.
✔ Keep the pot in a warm, shaded place, away from direct sunlight (which could burn the leaves).
💧 Step 5: Taking Care of Your Cutting
Proper care and patience are key to ensuring your clematis cutting develops strong roots.
✅ Water regularly to maintain moist soil and humidity.
✅ Keep the cutting protected until the following spring, when its roots will be well-established.
✅ Once it starts growing, place it outside in a shaded area to encourage further development.
🌸 Enjoy Your Beautiful Clematis!

With the right timing and care, your clematis cutting will grow into a thriving plant, ready to enhance your garden, balcony, or patio. Follow these simple steps, and soon you’ll have multiple clematis vines blooming in your outdoor space! 🌿✨